
Open 24/7! Servicing all of Sydney’s Eastern Suburbs
Our Average Response time is: 1hr 53min 47sec
A tired, leaking or outdated shower head can make every shower less enjoyable, but replacing it is often much easier than you might think. In fact, it's one of the quickest plumbing jobs around.
With just an adjustable wrench, a soft cloth and a roll of plumber's tape, most homeowners can swap out a shower head in under 20 minutes, often without needing to call a plumber.
This step-by-step guide will show you how to replace a shower head correctly. We'll also explain how to choose a replacement that suits your home's water pressure, improves your showering experience and could even help reduce your water usage. And while it's a straightforward DIY task in most cases, we'll also cover the signs that it's time to stop and call a professional plumber, such as a corroded shower arm, persistent leaks or ongoing low water pressure that a new shower head won't fix.
A leaking shower head is one of the most obvious signs that it's time for a replacement, but it's far from the only one. Over time, shower heads can become clogged with mineral deposits, wear out internally or simply become less efficient than newer models.
If your once-powerful shower has turned into a weak trickle or the water sprays in every direction except where you want it, there's a good chance the shower head is to blame. Mineral deposits from hard water gradually block the small spray nozzles, reducing water flow and creating an uneven spray pattern.
Cleaning the shower head with a vinegar soak may remove light scale buildup, but if the nozzles remain blocked or the internal components have deteriorated, replacing the shower head is usually the most effective solution.
Before buying a new shower head, check whether the issue is isolated to your shower. If every tap around the house has low water pressure, the problem is likely somewhere within your home's plumbing rather than the shower head itself.
💡In that case, our guide on how to increase water pressure at home offers more troubleshooting tips.
A shower head that continues dripping after you've turned the tap can be a sign that internal seals or washers have worn out. While some minor leaks can be repaired, persistent dripping often indicates that the shower head has reached the end of its lifespan.
Ignoring a leak can lead to more than wasted water. If water begins escaping behind the wall instead of through the shower head, it can cause hidden moisture damage, mould growth and costly repairs. If you've noticed damp walls, loose tiles or leaks that won't stop, it's time to have the plumbing inspected.
Our shower repairs team can identify the source of the problem and recommend the right solution.
Visible rust, heavy limescale or corrosion are all signs that your shower head is due for replacement. Aside from affecting performance, older shower heads are often far less water-efficient than modern models.
Many shower heads installed before the mid-2000s can use between 15 and 25 litres of water per minute. In comparison, a modern 3-star WELS-rated shower head typically uses 9 litres per minute or less, helping reduce both water consumption and household utility bills without sacrificing shower performance.
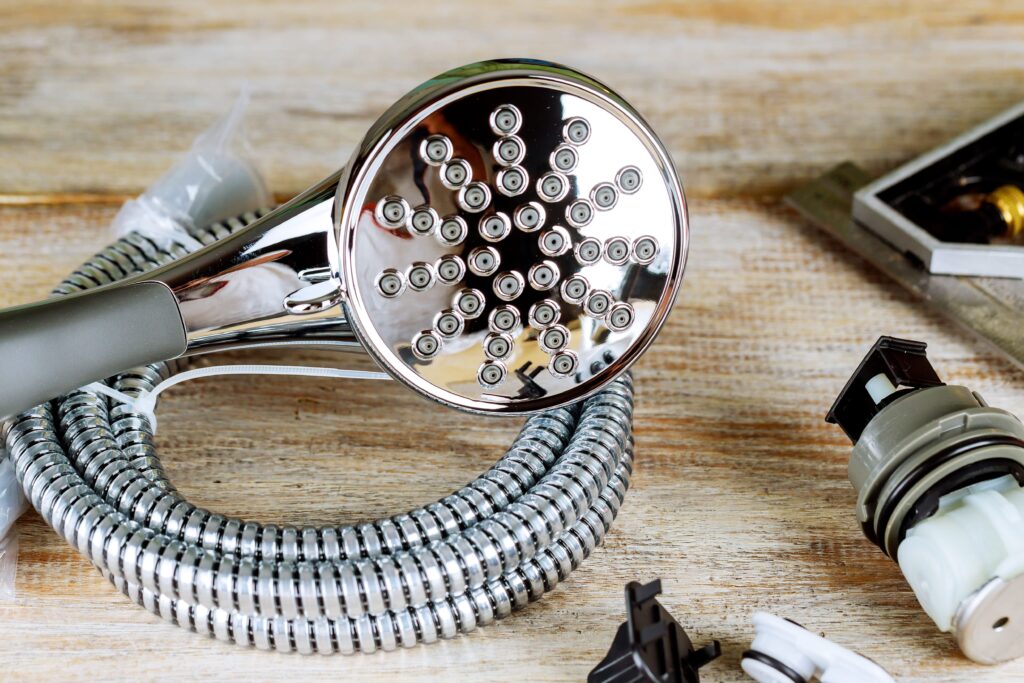
Replacing a shower head doesn't require a toolbox full of specialist equipment. In fact, most households already have everything needed to complete the job. If you're missing an item or two, they're inexpensive and readily available from most hardware stores.
💡If your existing shower head has been in place for many years, soft-jaw pliers can also be a worthwhile addition. Over time, corrosion and mineral deposits can effectively bind the shower head to the shower arm. Soft-jaw pliers provide extra grip while helping to protect the finish, whereas standard metal pliers can easily leave permanent marks or scratches.
You don't need to turn off your home's water supply for this job, just make sure the shower taps are fully off before you begin.
Grip the shower head where it connects to the shower arm and turn it counterclockwise. Many shower heads will loosen by hand. If yours is stuck, wrap a soft cloth around the fitting to protect the finish, then use an adjustable wrench or pliers to gently loosen it. Apply steady pressure rather than forcing it, as excessive force can damage the shower arm or fittings.
| Handheld shower heads |
| If a handheld shower head is being replaced, disconnect the hose from the head first, then remove the wall bracket separately if it's being swapped too. |
Once the old head is off, inspect the threaded end of the shower arm. It's common to find remnants of old plumber's tape, soap residue or mineral deposits that have built up over time.
Remove any old tape and wipe the thread clean with a cloth. For stubborn buildup, use an old toothbrush or a small piece of fine steel wool. Taking a few extra minutes to clean the thread properly helps create a better seal and is often more important than tightening the new shower head as much as possible.
Wrap fresh plumber's tape (PTFE or Teflon tape) clockwise around the shower arm thread, the same direction you'll be installing the new shower head. Wrapping it this way prevents the tape from unravelling as you tighten the fitting.
Around six to eight overlapping wraps is typically enough to create a reliable watertight seal. Keep the tape smooth and even as you wrap, avoiding folds or bunching that could prevent the shower head from threading on correctly.
Screw the new shower head onto the shower arm by hand, turning it clockwise until it feels snug. In most cases, hand-tightening is sufficient. If needed, use a wrench to give it a small additional turn, but only enough to secure the fitting.
⚠️Avoid overtightening, as this can crack plastic fittings, damage threaded connections or even place unnecessary stress on the plumbing behind the wall.
Once installed, turn the shower on and let the water run for a minute. Check the connection where the shower head meets the shower arm for any signs of dripping. If you notice a small leak, gently tighten the fitting or remove it and apply another layer of plumber's tape before reinstalling. Once the connection remains dry while the shower is running, your new shower head is ready to use.
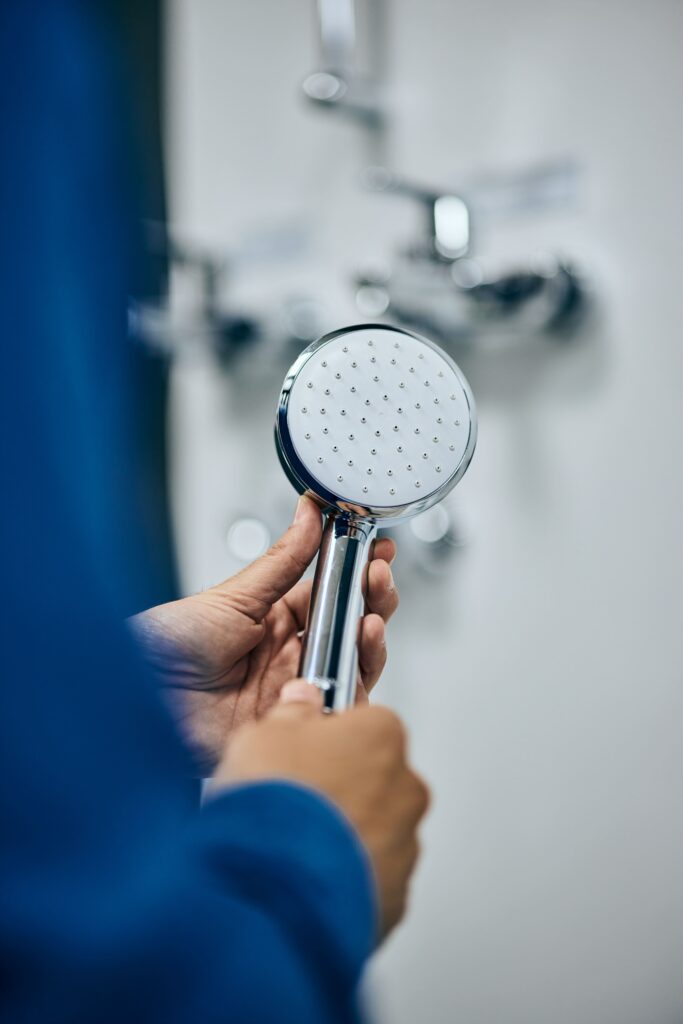
Not all shower heads deliver the same showering experience. The right choice depends on your preferred spray style, your household's water pressure and how efficiently you want to use water. Fortunately, modern shower heads offer excellent performance while meeting Australia's strict water efficiency standards.
Every shower head sold in Australia carries a WELS (Water Efficiency Labelling and Standards) rating, making it easy to compare water efficiency before you buy.
Since June 2022, the minimum standard for new shower heads has been 3 stars, limiting water flow to 9 litres per minute under the Plumbing Code of Australia. This means any new shower head you purchase will already meet current water-saving requirements.
However, not all 3-star shower heads perform exactly the same. While some deliver the full 9 litres per minute for a strong, satisfying shower, others operate at 4.5 to 6 litres per minute, creating a softer spray. If shower pressure is important to you, it's worth checking the actual flow rate on the packaging rather than relying on the star rating alone.
| Style | Best For | Typical Water Use |
| Fixed | Standard bathrooms, simple wall or ceiling mount | 9 litres per minute or less (3 star WELS) |
| Handheld | Rinsing kids, pets, or cleaning the shower recess | 9 litres per minute or less, same WELS cap |
| Rain (overhead) | A wide, soft spray, often ceiling mounted | Varies, check the WELS label as models differ |
| Combination | Fixed overhead plus a handheld on a diverter valve | Combined flow depends on both heads, check labels |
Most Australian shower heads are designed to fit the standard ½-inch BSP thread, so replacing an existing shower head is usually a simple swap.
If your home is older, however, it's worth checking the condition of the shower arm before purchasing a replacement. Years of corrosion, previous repairs or damaged threads can sometimes prevent a new shower head from sealing properly. If the new fitting won't screw on smoothly or continues to leak despite applying fresh plumber's tape, the issue is likely with the shower arm rather than the shower head itself.
💡 If you're planning a complete bathroom refresh, including new taps and fixtures, our guide to choosing tapware can help you select products that suit both your plumbing and your style.
Replacing a shower head is usually a quick and straightforward DIY task. However, if you run into any of the issues below, it's best to stop rather than risk damaging your plumbing or turning a small repair into a much bigger one.
| 🚿 Hit a snag? Leave it to the experts. If your shower head is still leaking, the plumbing is damaged or the water pressure hasn't improved, Plumberoo can get to the root of the problem. Our licensed Sydney plumbers provide fast, reliable repairs to stop leaks, restore pressure and get your shower working properly again. |
Replacing a shower head is one of the easiest ways to improve your daily shower, reduce water usage and refresh your bathroom without a major renovation. With the right tools and a little preparation, it's a simple DIY project that most homeowners can complete in under 20 minutes.
The key is taking your time, clean the threads properly, apply fresh plumber's tape and avoid overtightening the new fitting. If everything goes to plan, you'll have a leak-free shower that's ready to enjoy.
If you discover persistent leaks, damaged pipework or water pressure problems along the way, don't force the repair. Calling a Plumberoo plumber early can save you from more expensive damage down the track. Whether you need help replacing a shower head or diagnosing a larger plumbing issue, the Plumberoo team is ready to help with fast, reliable service across Sydney.